
Last updated August 20, 2026 · Editorially reviewed by CanzarTV

The Raspberry Pi 5 can make an excellent, energy-efficient host for an IPTV setup: it’s compact, customizable and — with the right software and configuration — capable of reliably playing, recording and redistributing live streams around the home. This 2026 guide walks through the practical choices and steps you need to set up IPTV on a Raspberry Pi 5, while covering performance, privacy and legal cautions so you get a stable, lawful system that fits your needs.
Why choose a Raspberry Pi 5 for IPTV?
A Raspberry Pi 5 is a good fit for many IPTV uses because it’s affordable, power-efficient and flexible. You can build a dedicated set-top box, a headless DVR that records scheduled shows, or a small server that streams to multiple devices. Compared with a general-purpose PC, a Pi can run quietly 24/7 and be tucked behind a TV or mounted to your home network closet.
Before you buy or start, confirm current Raspberry Pi 5 hardware and accessory documentation from the manufacturer so you understand supported boot media, available ports and hardware-acceleration support for video codecs.
Choose the right software and components
Software choices determine the user experience and capabilities:
- Operating systems: a general-purpose Raspberry Pi OS gives full flexibility; lightweight media-focused distributions such as LibreELEC or OSMC simplify a Kodi-based interface. Confirm up-to-date compatibility and hardware-acceleration options in the project documentation.
- Media backends: Kodi (with a PVR addon) is common for direct playback on a connected TV. For headless DVR or multi-client distribution, server software like TVHeadend, Jellyfin or Plex is an option. These systems differ in how they handle EPG, recording and transcoding.
- Input sources: IPTV providers typically deliver streams via M3U playlists (HLS, MPEG-TS) or through an authenticated app/API. If you plan to use a local tuner, ensure drivers and firmware are supported.
Hardware requirements and preparation
Check and prepare these items before you start:
- Reliable power supply rated for the Raspberry Pi 5 model you have (confirm manufacturer guidance).
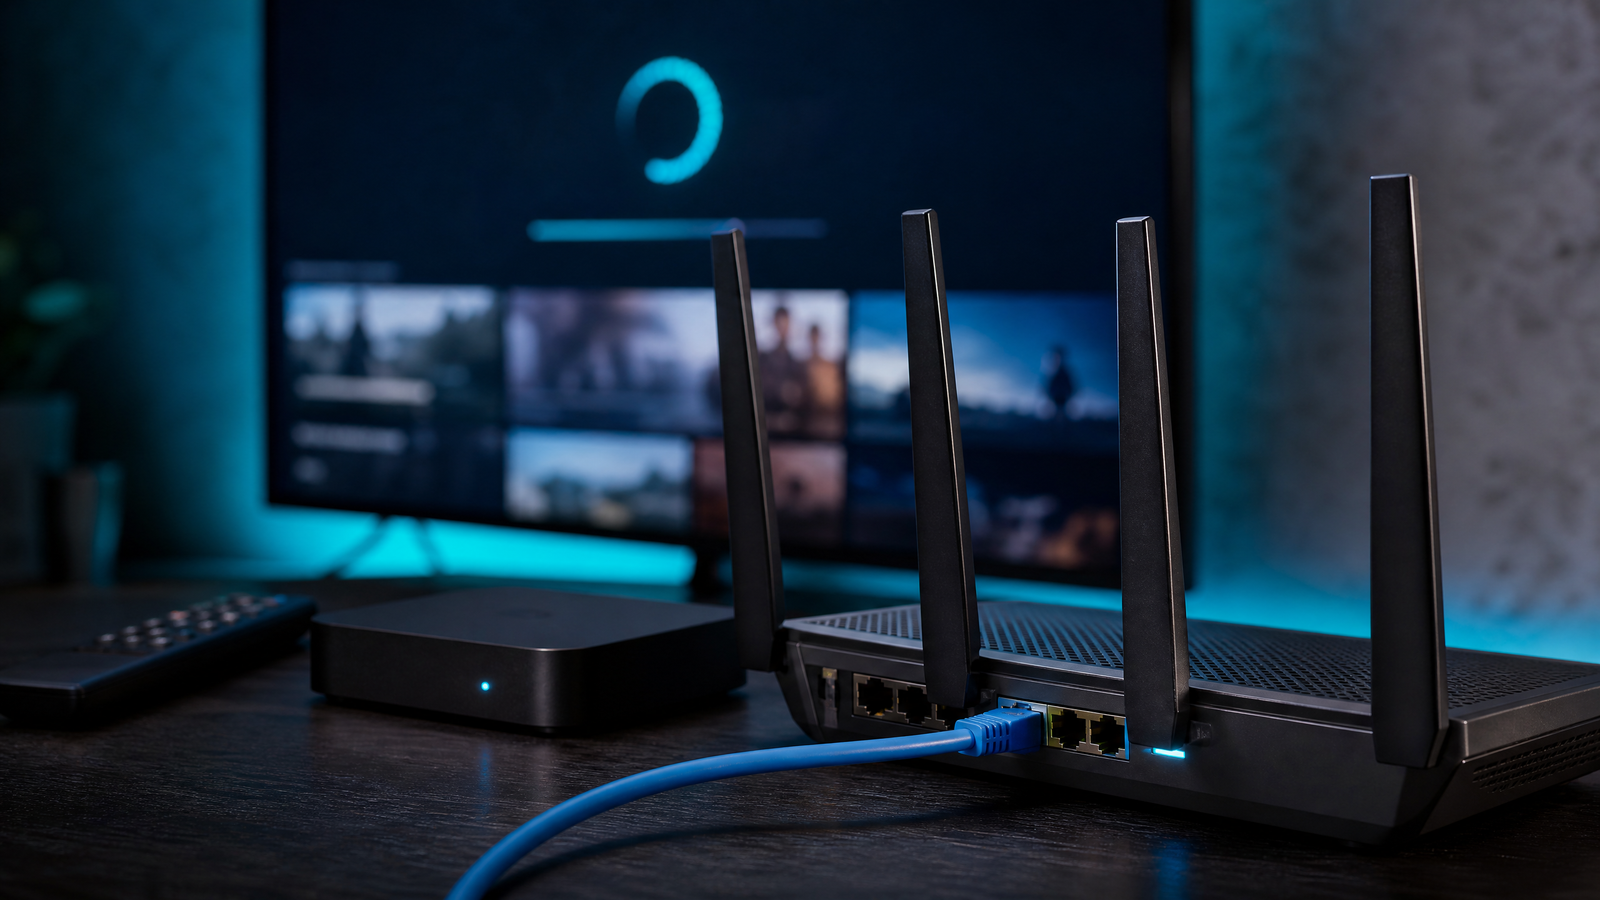
- A stable network connection — wired Ethernet is strongly recommended for consistent live TV playback and recording.
- Sufficient storage for recordings and cache; use external USB or network-attached storage for significant DVR needs.
- Cooling: good airflow, a heatsink or a case with a fan helps sustain performance during long recordings or heavy transcoding tasks.
- If you need OTA or cable capture, an appropriate USB tuner supported by your chosen software stack.
Step-by-step setup
- Install and update the OS: Download your chosen OS image and flash it to your boot media. Complete the first-boot configuration, connect to the network, and install system updates. Always check the project’s current installation instructions.
- Enable hardware video acceleration: For smooth playback and efficient transcoding, enable whatever GPU/video acceleration is supported by your OS and media software. Look for guidance from the OS and application projects because hardware decoder support and APIs can change over time.
- Install IPTV software: If you’re building a set-top box, install Kodi and enable a PVR client (for example, a PVR IPTV addon) to load M3U playlists. For a headless server, install TVHeadend or a media server (Plex/Jellyfin) and configure channels there.
- Add channel sources and EPG: Configure your provider’s playlist or use the provider’s official app/credentials. For program guides, import an EPG (XMLTV or a provider-supplied guide). Keep credentials secure and use HTTPS sources when available.
- Test and tune: Play live channels, verify recording schedules, and monitor CPU/GPU usage. If you see stuttering or dropped frames, check for network drops, inadequate hardware decoding, or excessive simultaneous transcodes.
- Optional — transcoding and remote access: If you need to stream to remote or varied client devices, plan for transcoding resources and secure remote access. Transcoding is CPU/GPU intensive; avoid overloading the Pi and consider offloading to a more powerful server if you need many simultaneous streams.
Performance and stability tips
To keep your IPTV setup reliable:
- Prefer a wired Ethernet connection for live TV; Wi‑Fi can be variable under load.
- Use hardware decoding and confirm codec support for the streams your provider supplies.
- Reduce simultaneous transcoding tasks on the Pi; use direct-play where client devices support the stream format.
- Keep good thermal management — heavy decoding or recording sessions can raise temperatures and affect sustained performance.
Privacy and network security
Protect account credentials and network access. Use strong, unique passwords for provider logins and your Pi’s administrative accounts. Do not expose your media server directly to the internet without secure authentication and firewall rules. If you consider using a VPN, verify that it’s allowed under your content provider’s terms and complies with your local regulations.
Legal and licensing cautions
Only access channels and streams you are legally entitled to view. Unofficial, pirated or redistributed content can violate copyright and local laws. If you plan to record or redistribute streams inside your network, check the provider’s license and terms of service — some services prohibit local recording or sharing. When in doubt, consult the service agreement and local law.
A practical checklist
- Confirm you have legal rights to the IPTV streams you will use.
- Choose an OS and media stack that supports hardware acceleration on Raspberry Pi 5.
- Use a wired network, adequate power, and cooling for stable playback and recording.
- Set up secure storage for recordings and keep credentials protected.
- Test playback and monitor resource usage before relying on the system for regularly scheduled viewing.
If you’d like more tailored guidance or help picking the right plan, please review CanzarTV’s subscription options and contact our support team with any questions — we’ll help you choose a setup that meets your streaming and legal requirements.

Canzar
Ready to stream? Pick your plan
Live TV, movies, sports and 10,000+ channels on any device — Firestick, Android TV, Smart TV, phone.
View Subscription Plans Compare Pricing
Moderation: Comments are reviewed before publishing. Be respectful and on-topic.
Guidelines: Share streaming tips, device help, or content recommendations. No spam, no promotions, no off-topic links.