
Last updated August 24, 2026 · Editorially reviewed by CanzarTV
Introduction
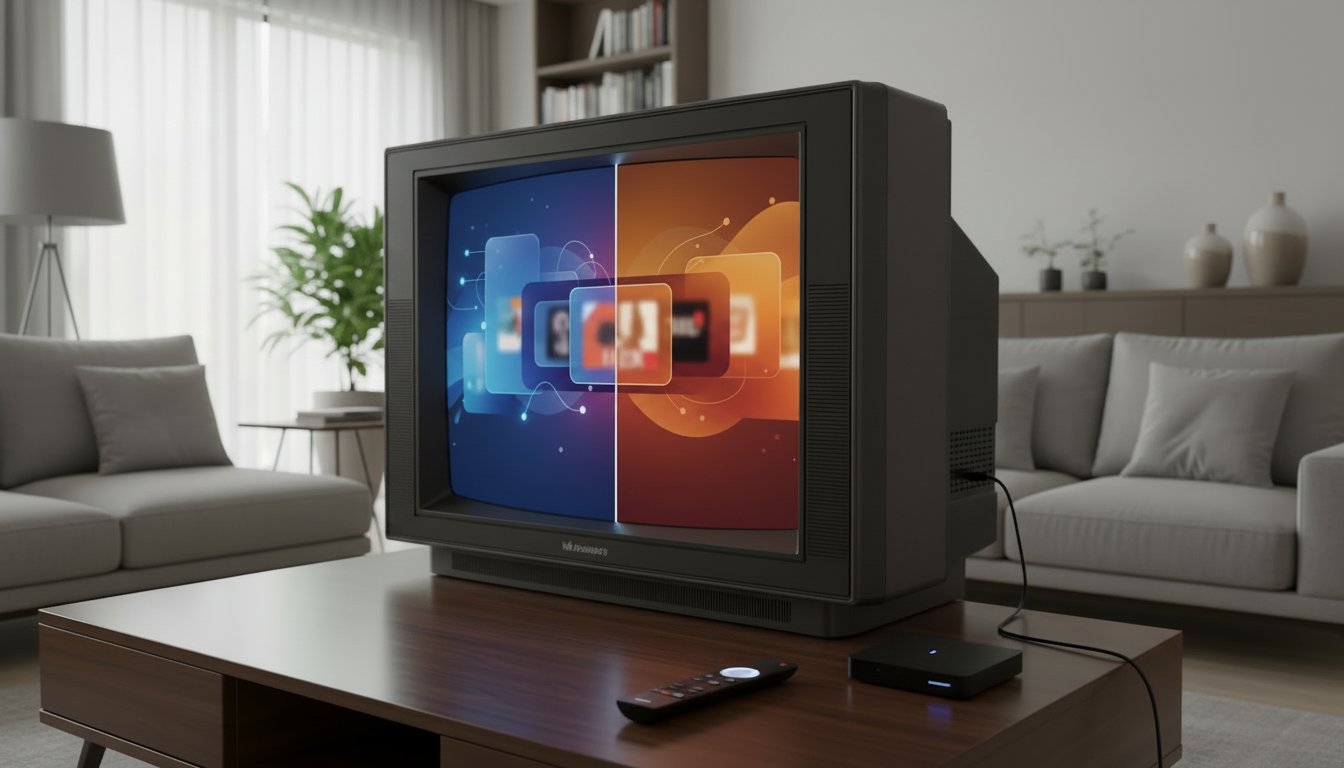
Many older or budget TVs lack modern streaming apps or an app store. That doesn’t mean you can’t stream Netflix, YouTube, or other services. You can stream on a TV without built-in apps by connecting an external device—commonly a streaming stick, external media player, laptop, or compatible game console—over HDMI. Those devices provide the apps, app updates, and streaming codecs the TV itself doesn’t have.
This guide explains the practical choices, step-by-step setup, and common trade-offs when adding streaming capability to a TV. It covers hardware options, what to check on your TV first, network and audio considerations, and tips to avoid common mistakes so you can pick and set up the right solution for your needs.
What to know first
- Definitions:
- Streaming stick: A compact device that plugs into an HDMI port and runs a dedicated streaming platform (apps, voice search, and a remote). It draws power from USB or an AC adapter.
- External media player: A larger standalone box (or hub) that connects via HDMI and often includes more ports (Ethernet, USB, SD), stronger processing, and storage options.
- HDMI: The standard digital connection for video and audio between the TV and external devices. Versions of HDMI support different features (e.g., HDR, higher frame rates, eARC); check your TV and device specifications if you need specific features.
- Two basic approaches:
- Attach an app-enabled device (streaming stick or external media player) via HDMI to run the streaming services.
- Use another source (laptop, phone, tablet) to mirror or cast content to the TV through HDMI or wirelessly when supported.
- Network and account needs:
- Most streaming apps require an active internet connection and user accounts. Confirm you have the account credentials and that your home network meets the bandwidth demands of your desired resolution.
- Legal and regional considerations:
- App availability and content libraries vary by region. Don’t assume every service is available or offers the same content in all countries; verify availability and subscriptions at the time of setup.
Main guide
Choose the right streaming hardware
Pick hardware based on budget, app support, and desired features.
H3: Streaming stick (compact and simple)
– What it is: Small dongles that plug into HDMI and typically come with a compact remote, voice search, and a simple setup flow.
– Pros: Affordable, unobtrusive, easy to move between TVs.
– Cons: Limited ports and sometimes less processing power than box devices; can run hot behind the TV.
– Decision criteria: Good choice if you want a quick, low-cost way to stream main apps and have a spare HDMI port.
H3: External media player (feature-rich box)
– What it is: A set-top box with more processing power, expanded connectivity (Ethernet, USB), and sometimes local media playback or gaming features.
– Pros: Better for 4K HDR, surround sound, wired network connections, local media, or multi-user households.
– Cons: Larger footprint, higher cost, and possibly more complex setup.
– Decision criteria: Choose if you need Ethernet, multiple outputs, better audio passthrough (e.g., for AVR), or local media playback.
H3: Other options (laptop, Blu-ray, game console)
– Laptops/tablets: Use an HDMI cable to mirror or extend your desktop or use casting protocols if supported. Good for presentations or ad-hoc streaming.
– Game consoles and smart Blu-ray players: These may already run many apps. Use them if you already own one and want an all-in-one setup.
– Decision criteria: Use these when you need multi-purpose devices or are already invested in another ecosystem.
H3: Trade-offs and compatibility
– App ecosystems vary—check that your chosen device supports the streaming services you use.
– Some devices optimize for particular services (voice assistants, ecosystems), which can be convenient or limiting depending on preferences.
– Power: streaming sticks often need a powered USB port or AC adapter; some TVs’ USB ports don’t provide enough current—be prepared to use the included power adapter.
What to check on your TV before buying
H3: HDMI ports and labeling
– Count available HDMI ports and note any special labels like ARC/eARC, HDMI 2.0/2.1, or “HDMI 1 (ARC).” ARC/eARC is relevant if you plan to route TV audio back to a soundbar or AV receiver.
– If ports are hard to reach, a short HDMI extension or right-angle adapter might help.
H3: Power availability for sticks
– Check if a USB port is available near the HDMI ports and whether it supplies sufficient power for a streaming stick. If not, you’ll need the device’s AC adapter.
H3: Display capabilities
– Verify the TV’s maximum resolution and HDR support to match the streaming device’s output. If you care about 4K HDR or Dolby Vision, the TV must support those formats.
H3: Firmware and TV-side settings
– Some older TVs have quirks (HDCP handshake problems, outdated HDMI firmware). Make sure the TV firmware is updated (verify details at publication time) and consult the TV manual for any HDMI mode settings.
Step-by-step setup
H3: Physical connections and power
1. Plug the streaming stick or external media player into an available HDMI port.
2. If using a stick, connect its USB power cable to a powered USB port or the provided AC adapter.
3. If using a box, connect the HDMI cable to the TV and the device’s power adapter to the mains.
4. For wired network reliability, connect an Ethernet cable if the device and your router support it.
H3: Switch TV input and initial device setup
1. Use your TV remote to change the input to the connected HDMI port.
2. Follow the on-screen setup on the external device: select language, connect to Wi‑Fi (or confirm Ethernet), and sign in to or create the device ecosystem account if required.
3. Install and sign into the streaming apps you intend to use. Many devices have a search function to find apps quickly.
H3: Audio and display configuration
– Set the streaming device’s output resolution to match your TV for the best balance of quality and performance. Many devices default to the highest supported resolution; you can lower it to reduce buffering on slower networks.
– Configure audio passthrough if you’re using a soundbar or AVR; choose PCM, Dolby Digital, or passthrough based on what your sound system supports.
– If using ARC/eARC, enable the corresponding TV and device settings and select the HDMI ARC input as the TV audio output.
H3: Network and streaming performance
– If using Wi‑Fi, choose the 5 GHz band for higher throughput and lower interference if your router and device support it; otherwise 2.4 GHz reaches farther through walls.
– Log into each streaming service app with the subscription account and verify playback.
Improve streaming quality and user experience
H3: Network best practices
– Place the router closer to the streaming device or use Wi‑Fi range extenders/mesh systems if coverage is weak.
– For consistent 4K streaming, prefer Ethernet or Wi‑Fi 5/6 devices and reduce network congestion (pause large downloads on other devices).
H3: Cable and port considerations
– Use good-quality HDMI cables rated for the resolution and features you want (e.g., 4K HDR, HDMI 2.0/2.1 for higher bandwidth features). If you’re unsure which cable to get, consult the device manufacturers’ guidance before purchasing.
– Keep HDMI firmware and the streaming device software up to date for compatibility improvements.
H3: Remote and control options
– Many streaming devices support voice remotes, smartphone remote apps, or HDMI-CEC control with the TV remote. Enable HDMI-CEC if you want to reduce remote clutter, but be aware that different manufacturers name it differently in menus (check your TV settings).
Common mistakes
- Assuming every streaming app is available on every device. Avoid this by checking app availability for the device and region before you buy.
- Plugging a streaming stick into an unpowered or low-power USB port. If the stick keeps rebooting or won’t power on, use the included AC adapter.
- Ignoring HDMI versions and audio passthrough needs. If your setup requires Dolby Atmos or advanced eARC features, confirm both TV and device support them.
- Using a low-quality or incompatible HDMI cable for high-resolution content. A cable mismatch can prevent HDR or 4K playback.
- Not updating firmware or apps before troubleshooting. Always update system software and apps first to eliminate known bugs.
- Forgetting to sign into streaming services and verify subscriptions. App access requires valid subscriptions or trial status where applicable.
- Overlooking Wi‑Fi placement and network congestion. A poor wireless environment is a common cause of buffering.
FAQ
Can I stream on a TV without built-in apps using only my phone or laptop?
Yes. You can connect a laptop to the TV via HDMI to mirror or extend your display and play content from a browser or local files. Many modern phones and tablets also support casting to compatible devices or can be connected via an HDMI adapter. Keep in mind that mirroring may degrade video quality or disable hardware-level streaming features—using a dedicated streaming stick or box often gives a smoother playback and app experience.
Do I need an internet connection to stream?
Most streaming services require an internet connection to authenticate and fetch content. For local media playback, you can use an external media player or USB drive without internet. Some apps offer limited offline downloads on mobile devices, but playback on a TV-connected device typically requires online access unless the device and app explicitly support local or offline content playback.
How do I get the best audio when my TV doesn’t support eARC?
If your TV lacks eARC, options depend on your audio equipment:
– Connect the streaming device directly to your AV receiver or soundbar (if it has HDMI inputs) rather than the TV, so the receiver handles audio decoding.
– Use optical (TOSLINK) audio out from the TV if both the TV and sound system support the required formats (note that optical doesn’t support the highest-bandwidth formats like Dolby Atmos over eARC).
– Check the streaming device’s audio settings and select a compatible output mode (e.g., Dolby Digital or PCM) that your receiver supports.
Conclusion
You can reliably stream on a TV without built-in apps by adding a streaming stick, external media player, or using an HDMI-connected laptop or console. Choose hardware based on app availability, audio/video needs, and network setup. Follow the physical-connection and network steps, configure audio and display settings, and update firmware to minimize problems. Next action: pick a device that supports the streaming services you use, confirm it matches your TV’s ports and audio setup, and then follow the step-by-step setup above.

Canzar
Ready to stream? Pick your plan
Live TV, movies, sports and 10,000+ channels on any device — Firestick, Android TV, Smart TV, phone.
View Subscription Plans Compare Pricing
Moderation: Comments are reviewed before publishing. Be respectful and on-topic.
Guidelines: Share streaming tips, device help, or content recommendations. No spam, no promotions, no off-topic links.